Faces The notebook
Stitched eyes that look friendly: French knots and satin stitch
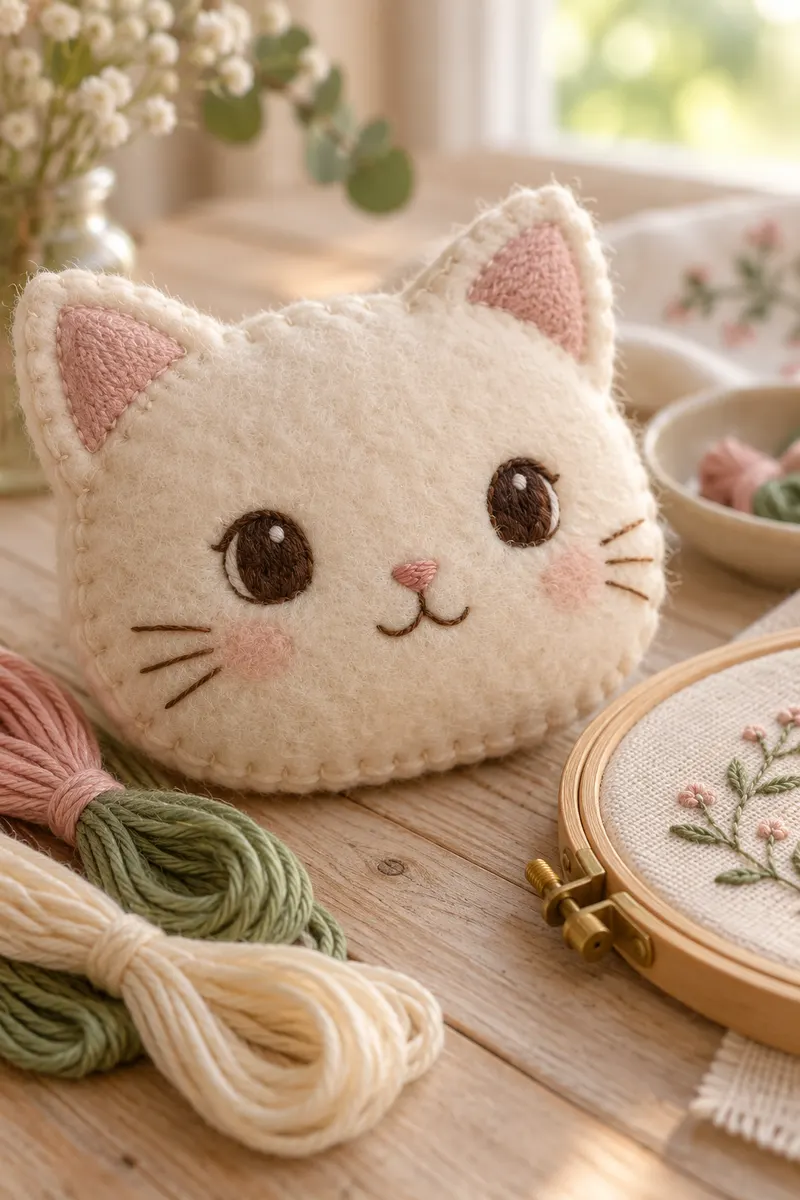
Placing and embroidering softie eyes and noses with French knots and satin stitch: safe for babies, and much easier to get right than it looks.
Pinned up on
The face is where most handmade toys go wrong, and the problem is almost always placement, not stitching. Eyes too high and too far apart look surprised. Eyes too close together look cross. Low, wide-set eyes look young and friendly, and that’s the look most softies are after.
Stitched eyes have a second advantage: there is nothing to come off. A toy for a baby or toddler should never have buttons, beads or plastic eyes.
Step 1: Try positions with pins first
You need
- glass-head pins
If the head is already stuffed, push two black-headed pins in where you think the eyes go and look at the toy from a metre away. Move them. Try lower than you expect, about halfway down the face or below. When it looks right, mark each point with the water-soluble pen.
If you are embroidering a flat piece before sewing, pin the pieces together roughly to judge it.
Step 2: French knot eyes
You need
- floss, three to six strands
- crewel needle
Bring the needle up at the mark. Wrap the thread round the needle two or three times, then put the needle back in just beside the starting point, not in the same hole, or the knot pulls through. Hold the wraps snug with your thumbnail while you pull the needle through. More strands or more wraps make a bigger eye. For a toy over 25 cm tall, use a small satin stitch circle instead.
Step 3: Satin stitch for larger eyes and noses
You need
- floss, two strands
- water-soluble pen
Draw the shape. Outline it first in tiny split stitches. Then cover it with straight stitches lying close side by side, coming up on one side and going down on the other, just outside the outline. The outline raises the edge and keeps it crisp. Work noses in a horizontal direction and round eyes from top to bottom.
Step 4: Stitching on a stuffed head
You need
- a long doll needle
Enter the needle at the back of the head or under an ear, where a seam will hide it, and bring it out at the eye mark. Work the eye, then take the needle back out at the same hidden spot. Pulling slightly as you fasten off sinks the eye a little into the face, which gives a nice sculpted look.
Step 5: Fasten off safely
You need
- nothing extra
Finish with two tiny backstitches in a hidden place, then run the thread through the stuffing and snip it at the surface. A single knot on the outside will work loose with play.
A small highlight, one straight stitch in white across the upper part of each eye, brings a face to life. It’s an optional extra.