Patterns The notebook
Getting a pattern onto fabric without losing its shape
Tracing, copying and cutting softie pattern pieces accurately, with grain lines, notches and the freezer paper trick for small pieces.
Pinned up on
On a garment, a 3 mm error at the cutting stage disappears into the fit. On a softie, a 3 mm error on a 6 cm ear is five per cent of the piece, and two ears that don’t match look wrong from across the room. Accurate cutting is most of the battle.
Step 1: Copy the pattern onto card
You need
- tracing paper
- thin card
- pencil
Never cut the original. Trace each piece and transfer it onto thin card (a cereal box works). Copy every mark: the grain line, notches, the opening for stuffing, and where ears and limbs attach. Write the piece name and how many to cut on each template.
Step 2: Find the grain or the stretch
You need
- your fabric
Woven fabrics have a straight grain parallel to the selvedge. Lay the grain arrow along it, or the piece will twist when stuffed. Knits and fleece stretch more in one direction. For most animals, the greatest stretch should run around the body, not head to tail, so the toy grows plump rather than long.
Plush and fur fabric also have a nap. Stroke it, and lay every piece so the nap runs from head to tail.
Step 3: Use freezer paper for small pieces
You need
- freezer paper
- iron, no steam
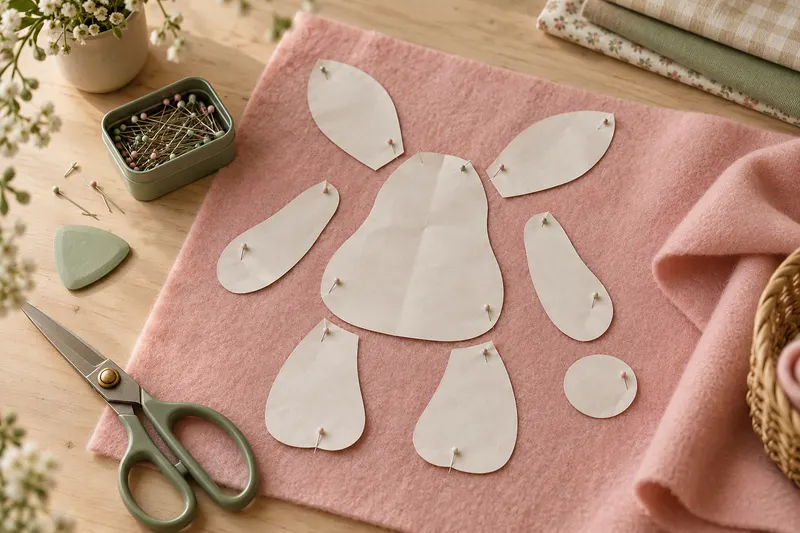
For paws, ears and faces, trace the shape onto the paper side of freezer paper, cut it out on the line, and press it shiny side down onto the fabric with a warm iron for a few seconds. It sticks lightly and peels off without residue. You can then cut or sew right along its edge, and reuse each piece three or four times.
Step 4: Mark the stitching line, not the cutting line
You need
- chalk or water-soluble pen
- seam gauge
For small, curvy pieces, draw round the template without seam allowance, sew on that line, and cut 5 mm outside it afterwards. Sewing a drawn line is far more accurate than guessing a seam allowance round a tight curve.
Step 5: Cut with the whole blade
You need
- sharp fabric scissors
Keep the fabric flat on the table and move round the piece with long, smooth cuts, using the full length of the blade. Snip notches outwards, never in, so they don’t cut into the seam allowance. Keep each set of pieces pinned together with its template until you sew.
Ten minutes spent at this stage saves an hour of easing mismatched seams together later.